Saturday, December 31, 2011

Chestnut, chorizo and lentil soup

I meant to post this just after Christmas to suggest what you might do with your turkey stock and other leftovers but events overtook me (including rather disastrously spilling a glass of wine on my computer) and here we are on New Year's Eve. Still, this is a great soup, whether you have turkey stock or not, which I've adapted from Sam and Sam Clark's excellent Moro cookbook.

The point I was going to make about turkey stock - and which you might like to bear in mind for next year if you haven't thought about it already - is that it's really rich and strong and therefore doesn't lend itself well to delicate soups or sauces. This one includes chestnuts, though in lesser quantities than the Sams use, chorizo and saffron and I also added some outer Savoy cabbage leaves I'd saved after making a slaw to go with the ham on Christmas Eve which adds a bit of colour as well. When I heated up the leftovers of the soup I dropped some torn pieces of sourdough toast which were also a good addition. (Note: this is less of a soup than a stew. You won't need much else, if anything, to eat!)

Serves 4-6
3-4 tbsp olive oil
2 medium onions or one large one, roughly chopped
1 carrot, chopped into small pieces, roughly the same size as the onion
125g semi-soft chorizo, chopped (Tesco has a good one in its 'Finest' range)
2 garlic cloves, crushed
1 tsp ground cumin
1/2 tsp chilli flakes or a crushed whole red chilli
1 tsp finely chopped thyme leaves or 1/2 tsp dried thyme or oregano
1/2 a 400g tin of chopped tomatoes or a couple of whole tinned tomatoes, chopped
200g vac packed or roasted or boiled chestnuts, roughly chopped
75g green or brown lentils
a pinch of saffron threads infused for 10 minutes in 3-4 tbsp hot water (optional*)
about 1 litre turkey stock or water
4-5 outer cabbage leaves or cavolo nero leaves
salt and black pepper

Heat the oil in a large pan, add the onion, carrot and chorizo, season lightly with salt and cook for about 10 minutes over a low to moderate heat until beginning to brown. Add the garlic, cumin and chilli flakes or crushed chilli and thyme and cook for a minute, then add the chopped tomatoes, chestnuts, lentils and saffron, if using. Add the stock or water, bring to the boil then turn the heat down and simmer for about 15-20 minutes until the lentils are cooked. Remove the central rib from the cabbage or cavolo nero leaves, shred finely and drop into the soup about 5 minutes before the end of the cooking time. Season with salt and pepper and serve.

* If you haven't got any saffron you could use half a teaspoon of turmeric which I'd add at the same time as the cumin. If you want to keep the soup veggie use 1-2 tsp sweet pimenton or paprika instead of the chorizo and maybe a touch of hot if you've got it.

Thursday, December 29, 2011

Nibbles for New Years

Here's a few of my favorite things to munch on while bringing in the new year!
Bite size mini meatballs and a salad pizza.
Cold broccoli salad with lemon, garlic and olive oil.
Stuffed baby artichokes, because it wouldn't be a party with out them!
Sausage stuffed mushrooms, and goat cheese filled peppers with balsamic glaze.
Eggplant slices topped with tomato and fresh mozzarella.
Creamy pasta with prosciutto and peas.
Fennel, orange and olive oil salad as well as a seafood salad of shrimp, lobster and scallops, bathing in fresh lemon and olive oil of course!
Scallop gratin or just plain old lasagne, love it all!
Wishing you all a Very Healthy and Happy 2012!

Tuesday, December 20, 2011

Unstuffed stuffing

I'm never convinced of the virtue of stuffing a turkey. It just increases the cooking time and makes it harder to get the breast cooked at the same time as the legs. Maybe a bit in the neck but that's never quite enough to meet the family's stuffing needs. So here's a simple stuffing to make on the hob which also has the virtue of getting it browned and a little bit crusty. Yum.

Pan-fried pork, apple and prune stuffing

Serves 6-8 with a turkey or chicken

A 454g pack of sausagemeat or traditional English sausages (e.g. Cumberland) with the skins removed
About 3-4 tbsp dried natural breadcrumbs (i.e. not the bright orange ones)
1 medium egg, beaten
1/2 a small onion, peeled and finely chopped
1 small flavourful apple (e.g. Blenheim or Cox), peeled and finely chopped
100g ready to eat prunes, finely chopped or snipped (it's easiest to cut them with scissors)
1/2 tsp ground mixed spice
Salt and pepper
1 tbsp oil

Put the sausagemeat in a bowl with the breadcrumbs and the beaten egg and mix thoroughly together. Prepare the rest of the ingredients then mix them in too. Heat the oil in a small to medium size non stick frying pan and tip in the stuffing. Pat it down with a wooden spoon or fork until it resembles a cake then let it cook over a moderate heat for about 6-7 minutes, covered with a lid or foil. Turn the stuffing over. (Don’t worry if it breaks up, just mash it together again) Continue cooking for another 6-7 minutes or until till the stuffing is lightly browned and cooked through.

(No picture I'm afraid. Old recipe.)

Cookie Traditions Old and New

Each holiday season I like to add a few new cookies to my tried and true regulars, this year I wanted to try out these cookie stamps that I saw in my Williams-Sonoma catalog.
Each stamp is embossed with a beautiful design, a wreath, a snowflake and a gift tag.

The dough is a basic sugar cookie dough that has been chilled then rolled into balls, flattened and then stamped.
I was impressed how well the embossed design showed up, but the decorating part was another story! I bought those edible markers and they didn't work out very well on the bare cookies, next time, (if there is a next time) I'll use a piping bag with a small tip.

One cookie I can always count on our my Fig and Pistachio Biscotti  I make them every year and they are truly a favorite!

Along with Cucidati of course!


Traditional Italian fig cookies, it just wouldn't be Christmas without them!
Wishing all my readers a very healthy and happy holiday season filled with family, food and fun!
Thank you for all your support through out the year, I appreciate each and every email and comment!

Friday, December 16, 2011

Two good champagne buys this weekend

Christmas is always a big discounting time on champagne at the supermarkets but as I've pointed out in the longer piece I've just posted on my website you need to be careful about ridiculously cheap offers on brands you don't recognise.

Here are two that I think represent the best value this weekend - Sainsbury's creamy Blanc de Blancs Champagne at £13.99 down from £20.99 and the toasty Champagne Bredon Brut which is on sale at £13.49 (down from £26.99) at Waitrose until the shops close on Monday 19th. This has now reverted to its 'normal' selling price. The best offer from Waitrose now is the Duval Leroy Fleur de Champagne at £14.24, also a good deal. Updated 21.12.11

If you don't have a branch of either of these stores near you here's what the other supermarkets have to offer, along with some good deals on vintage fizz and a rather spectacular magnum from - guess who? Lidl!

Tuesday, December 13, 2011

Hill lamb hotpot


Returning from high summer in Oz to the weirdest of weather back home in Bristol (this morning we had hail, thunder and bright sun, all in the space of five minutes) I feel the need for comfort food and can't think of a better option than a hotpot. Unfortunately I'm unlikely to have time to cook one until the weekend but thought you might fancy trying it too.

The recipe is from my book Meat and Two Veg and the very professional photo not by moi but the talented Jason Lowe. It's not authentic - no self-respecting Lancastrian would use something as poncey as white wine - but it is very tasty especially if you make it with hill or rare breed lamb. (How frugal that is of course depends where you live and whether you can source it direct from a farmer or farmers' market.)

The white pepper does make a difference with this kind of old-fashioned dish so do use it if you've got some.

Serves 4-6
6 lamb shoulder chops (about 750-800g)
2 level tbsp plain flour
3 tbsp vegetable or light olive oil
40g butter
3 medium to large onions, peeled and thinly sliced (about 450g)
1 large carrot (about 125g), peeled and thinly sliced
1 medium turnip (about 110g) peeled and thinly sliced
750g waxy red potatoes (e.g. Desiree)
125ml dry white wine (e.g. basic French vin blanc, muscadet, pinot grigio)
300ml chicken stock, preferably homemade
2 bay leaves
Salt and ground white pepper

You will need a large round or oval lidded casserole

Trim any excess fat off the chops and pat them dry with kitchen towel. Put the flour into a bowl and season with salt and pepper. Dip the chops into the flour, lightly coating both sides. Heat a large frying pan, add 2 tbsp of the oil and 15g of the butter. Once the butter has melted brown the chops on both sides (about 2 minutes a side) and set aside. Add the sliced onions to the oil and butter mixture and fry gently for about 5 minutes, stirring. Add the sliced carrot and turnip and any remaining flour, stir well and set aside. Peel and finely slice the potatoes.

Heat the oven to 200°C/400°F/Gas 6. Pour the remaining oil in the casserole and wipe it round the base and sides. Put a good layer of sliced potato in the base of the casserole then a layer of vegetables, seasoning each layer lightly with salt and pepper. Arrange the chops on top and tuck in the bayleaves. Tip over the rest of the vegetables spreading them out evenly then arrange the rest of the potato slices on top.

Heat the wine and stock in the frying pan and pour carefully over the hotpot. Season lightly with salt and pepper. Melt the remaining butter in the frying pan and pour it over the potato slices. Cover the casserole and place in the oven for about 25 minutes until bubbling gently.

Turn the heat down to 150°C/300°F/Gas 2 and cook for a further two hours, spooning the juices over the potatoes half way through.

Turn up the heat back up to 200°C/400°F/Gas 6, remove the lid from the casserole and return to the oven for 30-40 minutes until the potatoes are well browned. Serve with something green and leafy like brussel tops.

Wednesday, December 7, 2011

Ravioli for a Crowd!

I've been in party mode and haven't really cooked "normal" for a while, so I thought I would share with you how I prepped for a recent party I had for 26 with the main course being 200 homemade ravioli.
Homemade ravioli holds a special place in my heart because I can remember my mom and aunt making them together when my cousins and I were very young, white sheets covering dining room tables and beds, filled with drying ravioli. Today I make them a little different, no more drying on sheets, instead they go right into the freezer after they're made.


All the ravioli were made a few days before and tucked away in my freezer ready for the big day, we made two different versions, meat and cheese.


Because I would be cooking so many ravioli at one time, there was no way I wanted to be boiling them while my house was filled with people, so I opted to make them the night before, something I've never done.


During the week prior to my party I went to a local restaurant supply store and bought commercial size heavy duty foil sheet pans, they were perfect to lay my ravioli on in a single layer.
They were huge and covered my whole oven rack, and even though I don't have a commercial size oven I made them fit by slightly folding up the sides.


All my sauce was cooked ahead of time so assembling was pretty easy. After spreading sauce all over the bottom of the sheet pans I placed my slightly undercooked ravioli on top, single layer, placing more sauce on top. After they cooled down I sprinkled grated Pecorino on top and covered the pans with heavy duty aluminum foil and placed them in my second fridge, ( it's older and has bigger shelves).


The day of the party I took them out of the fridge and got them to room temperature and with the foil still on, I baked them for only 15 minutes in a 350 oven until warmed through, after they were done I dolloped more warmed sauce on top and they were good to go! For a big crowd this was the perfect way to make them, no hot boiling pots all over the place, all that was done in advance.


Thanks to my family, all my dear cousins and their families for such a fun night!


So if you ever doubted cooking ravioli ahead of time for a large crowd like I did, no worries because it was a complete success!


Buon Appetito!

Wednesday, November 30, 2011

What I did on my Thanksgiving week vacation!

I had a wonderful dinner with family!

I attended afternoon tea at the Peninsula Chicago in honor of my niece.


The setting was gorgeous, the minute you walk in you feel the elegance!
It was especially beautiful because of all the Christmas decorations they had up, the tree was stunning in warm colors of reds and golds.


Live music filled the air as we sipped on our teas and

ate our goodies. The service was wonderful and they were happy to replenish our plates!
A great experience and a fun thing to do if you're in Chicago with your girlfriends.

I learned how to make Bietole from a master, my daughter -in -laws nana.
This woman is well into her 80's and shes a spitfire in the kitchen, she puts us all to shame!
Bietole is basically swiss chard that is sauteed with lots of garlic and oil.

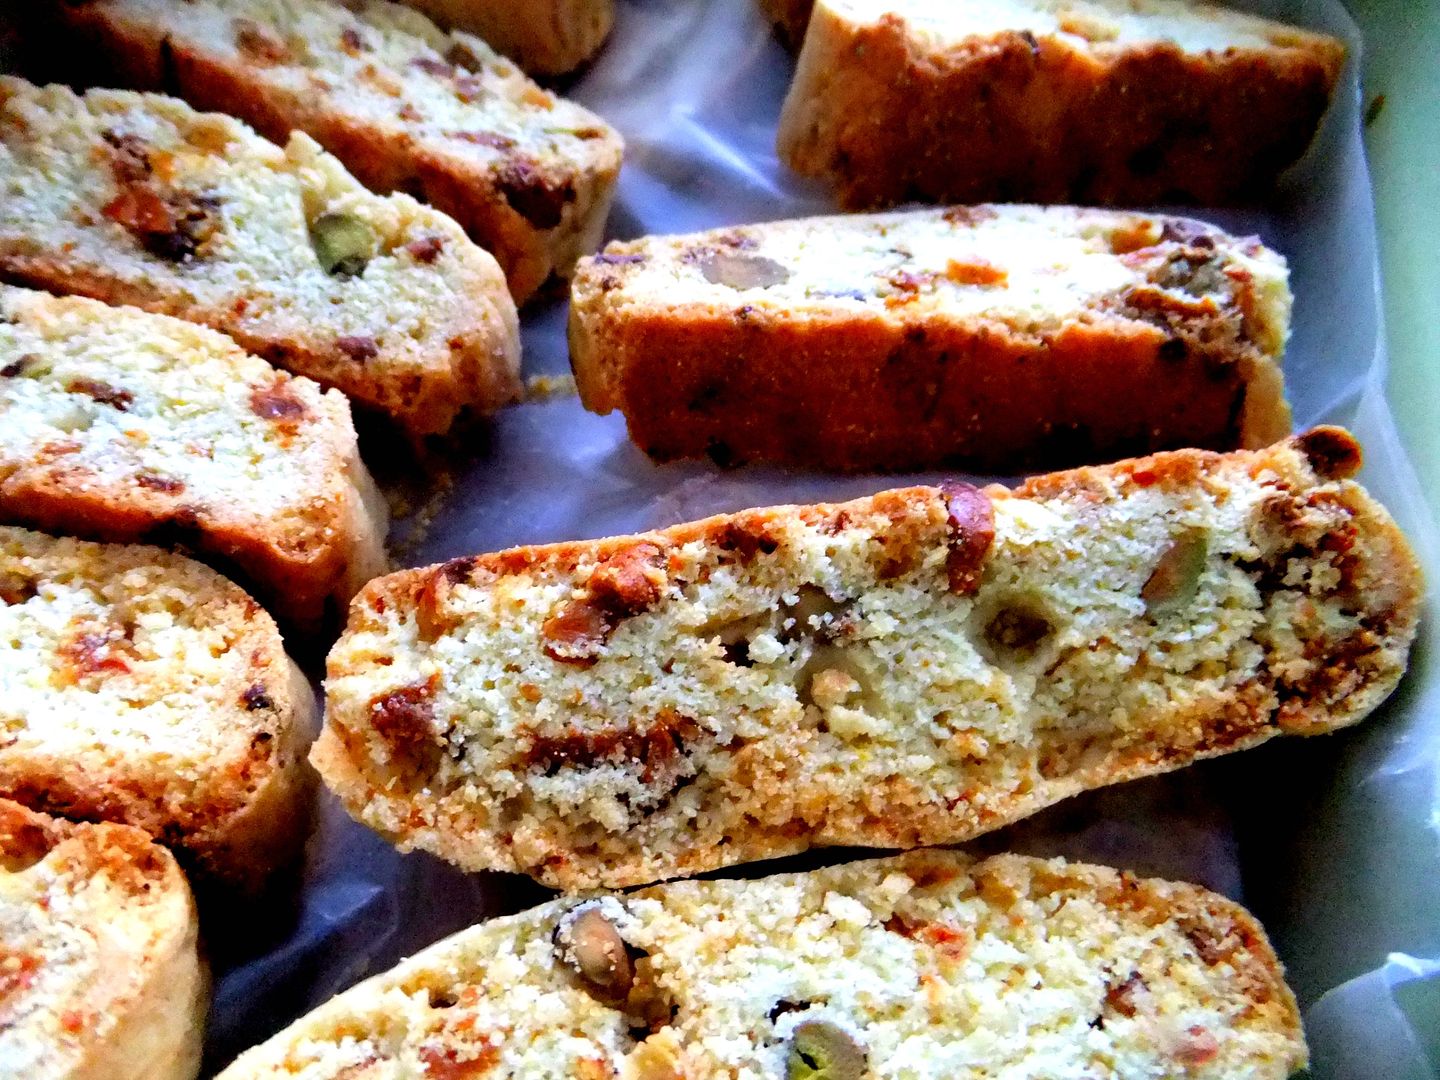
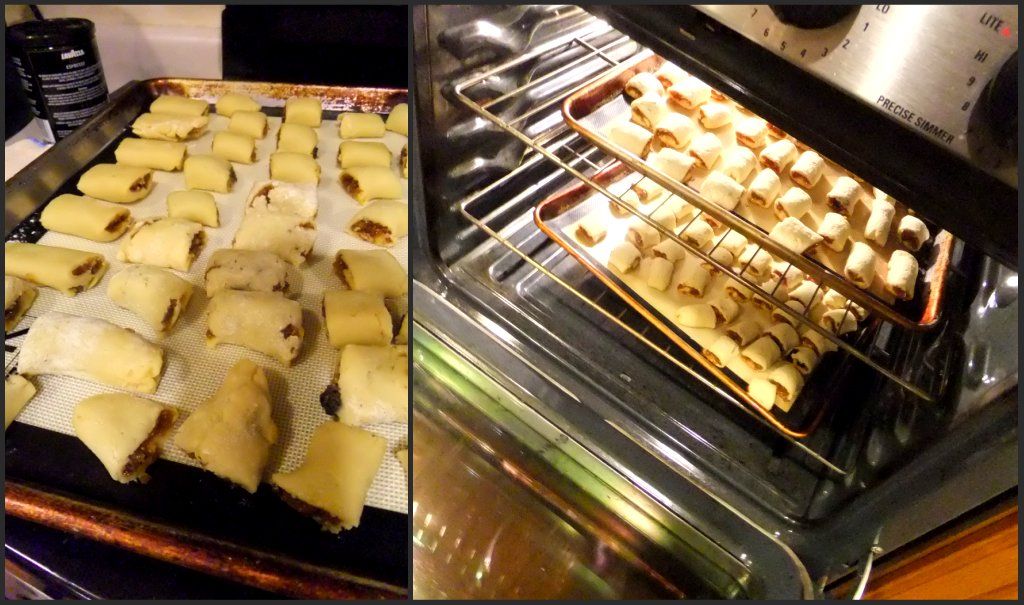
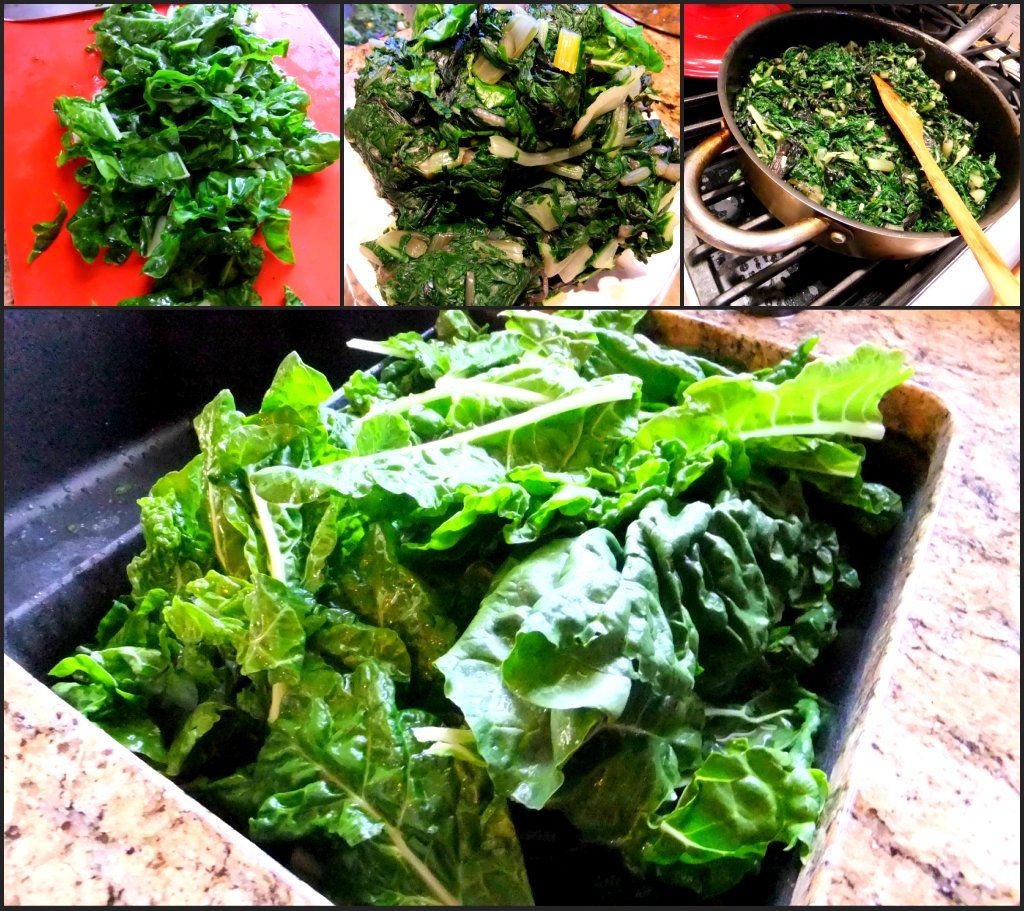
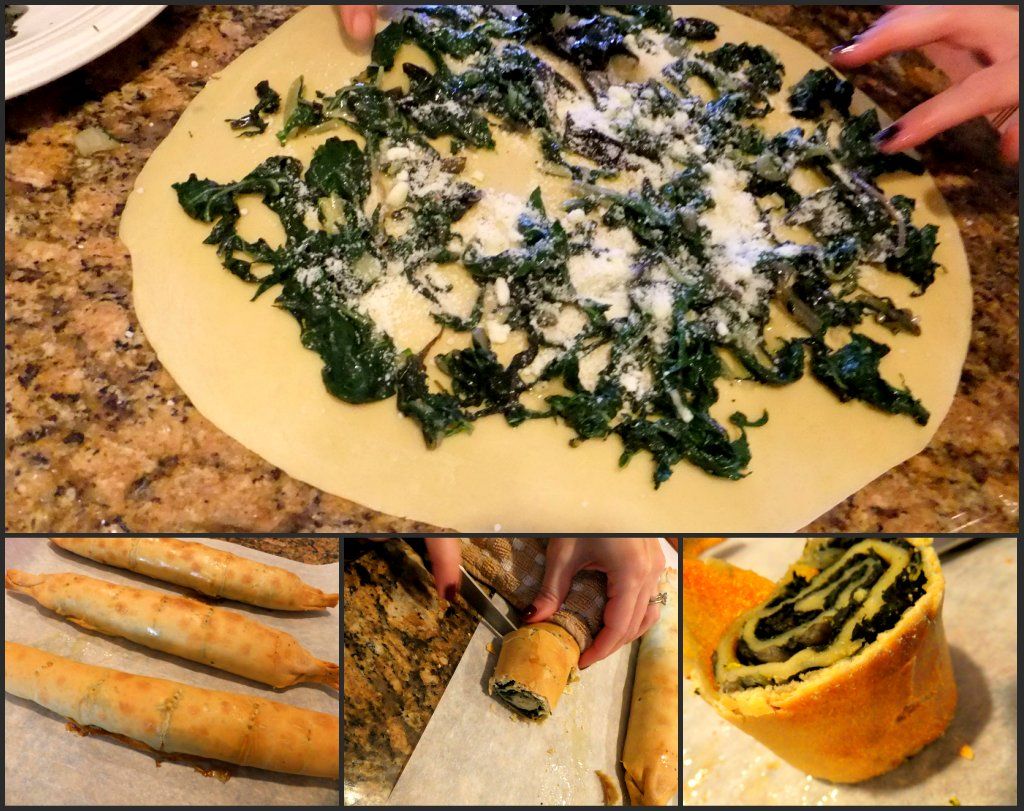
The sauteed chard is then placed on a pasta dough with enormous amounts of Pecorino romano, more garlic and olive oil then rolled up jelly roll style and baked. It's so simple with just a few ingredients but the taste is out of this world!


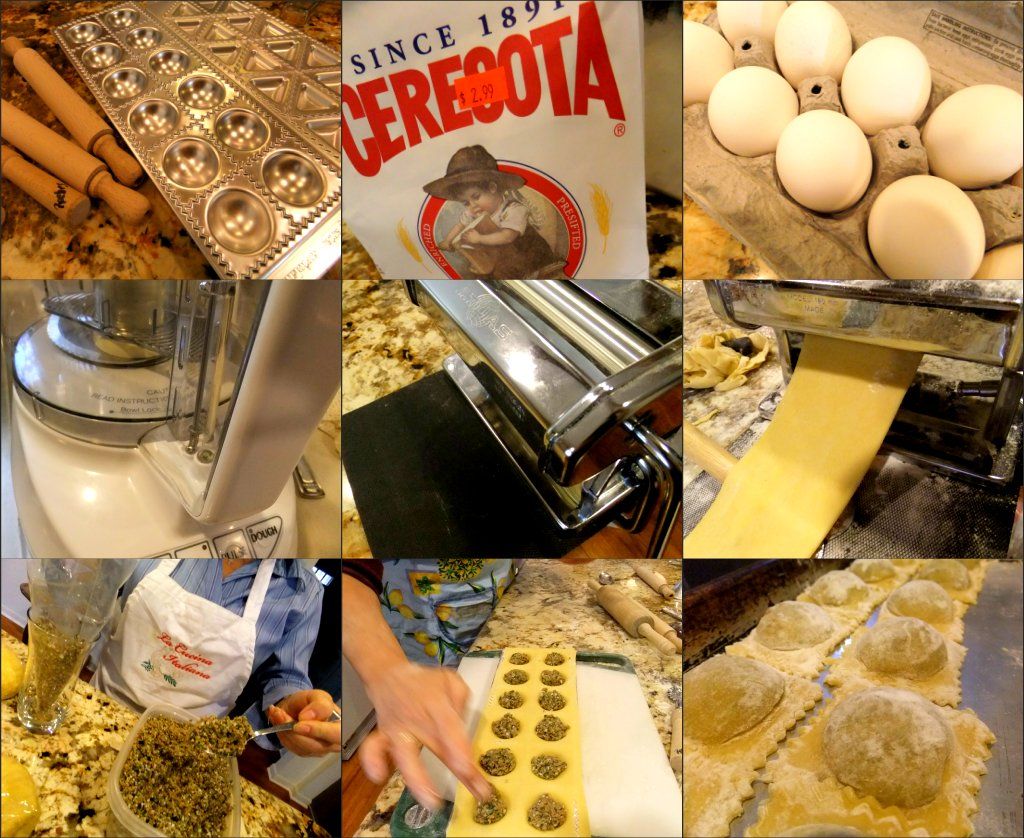
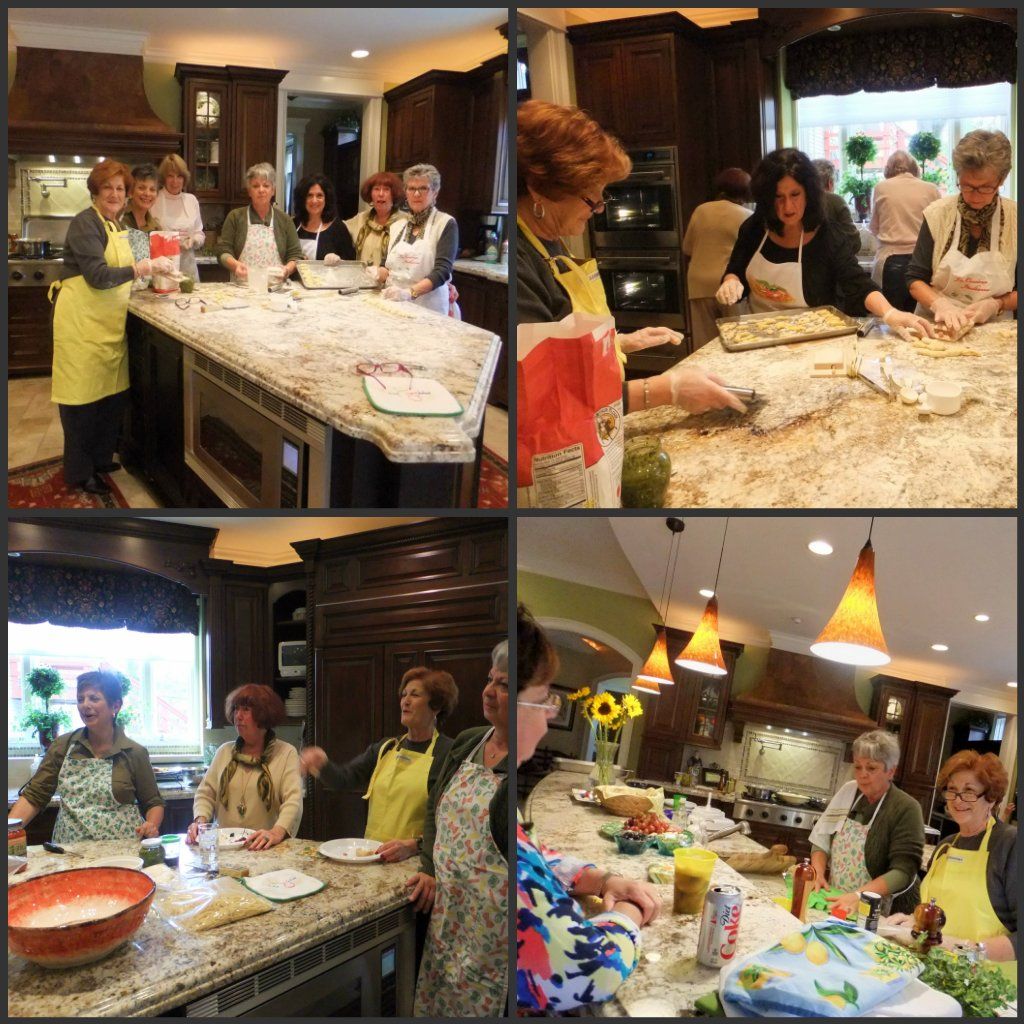
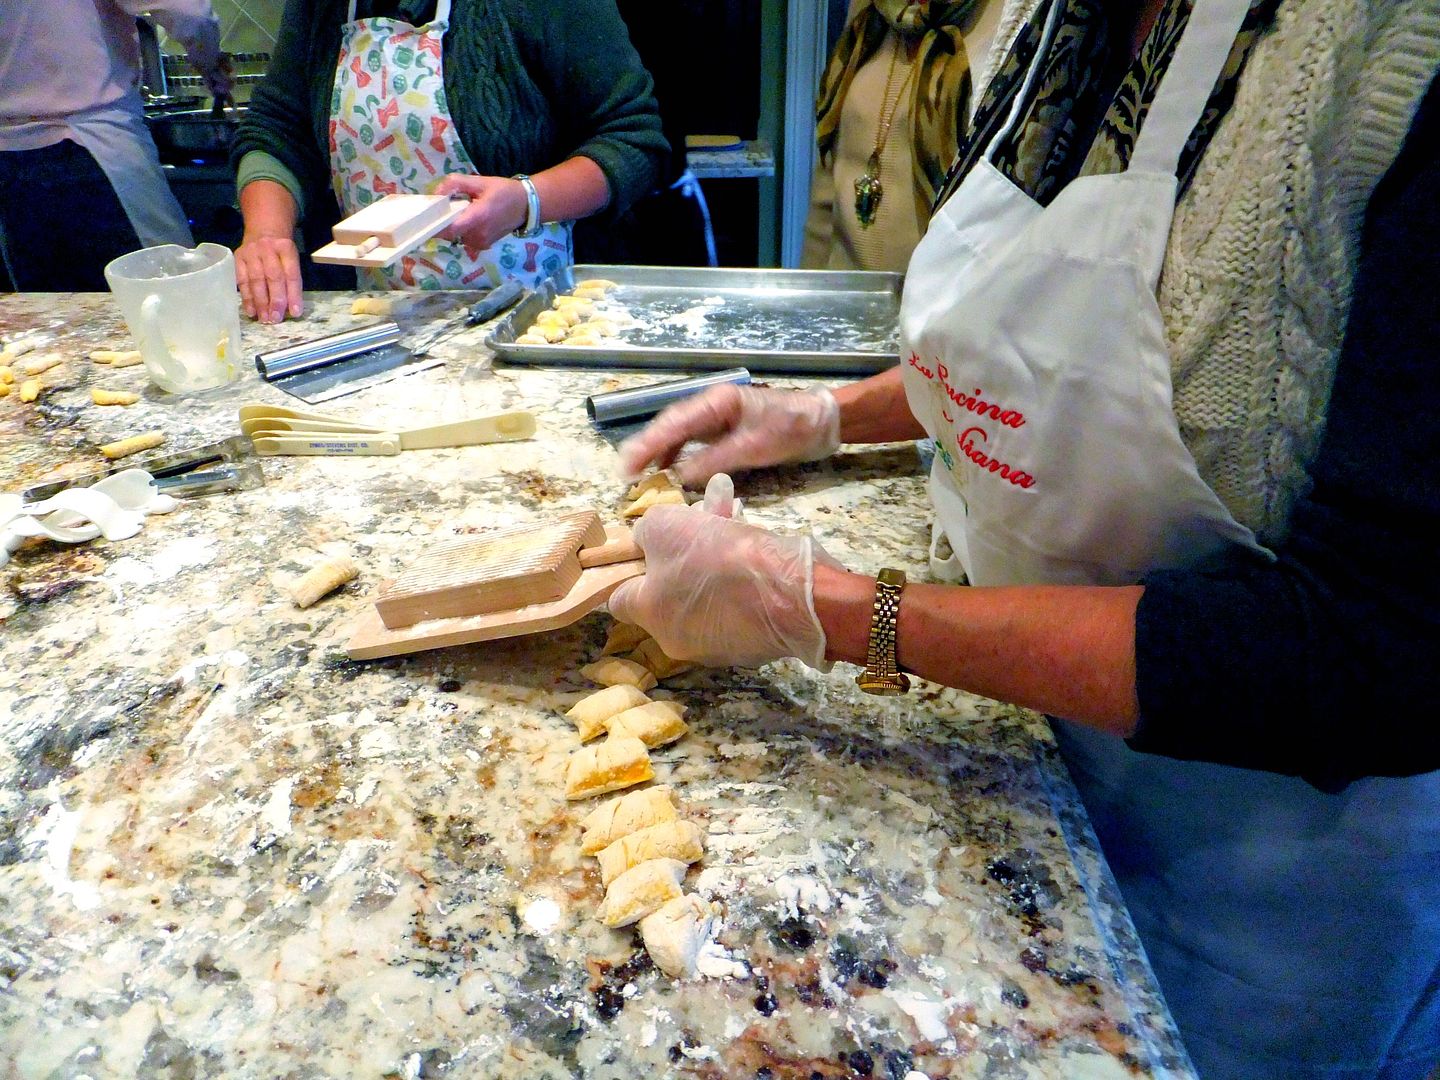
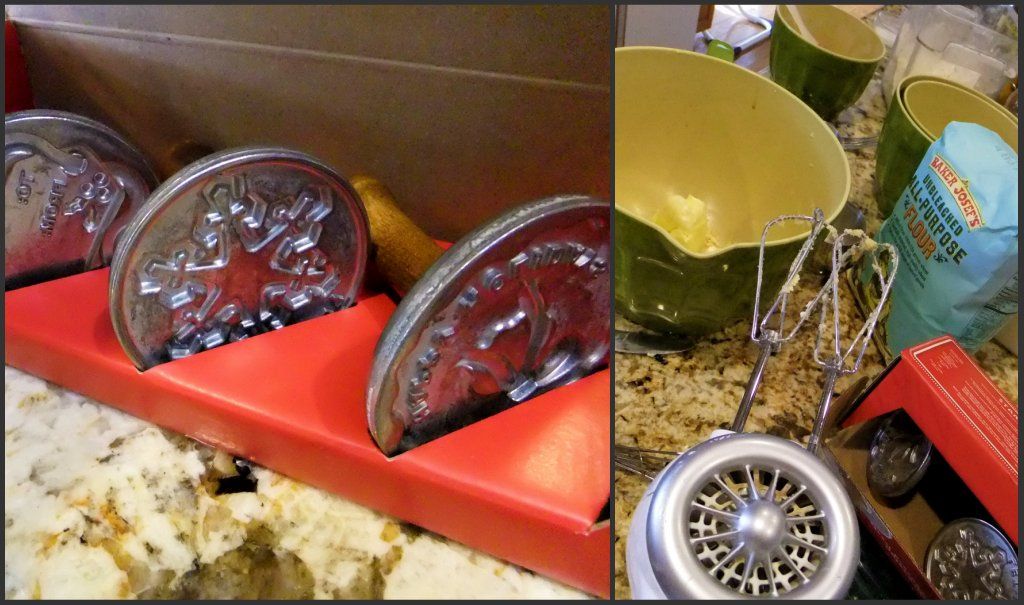
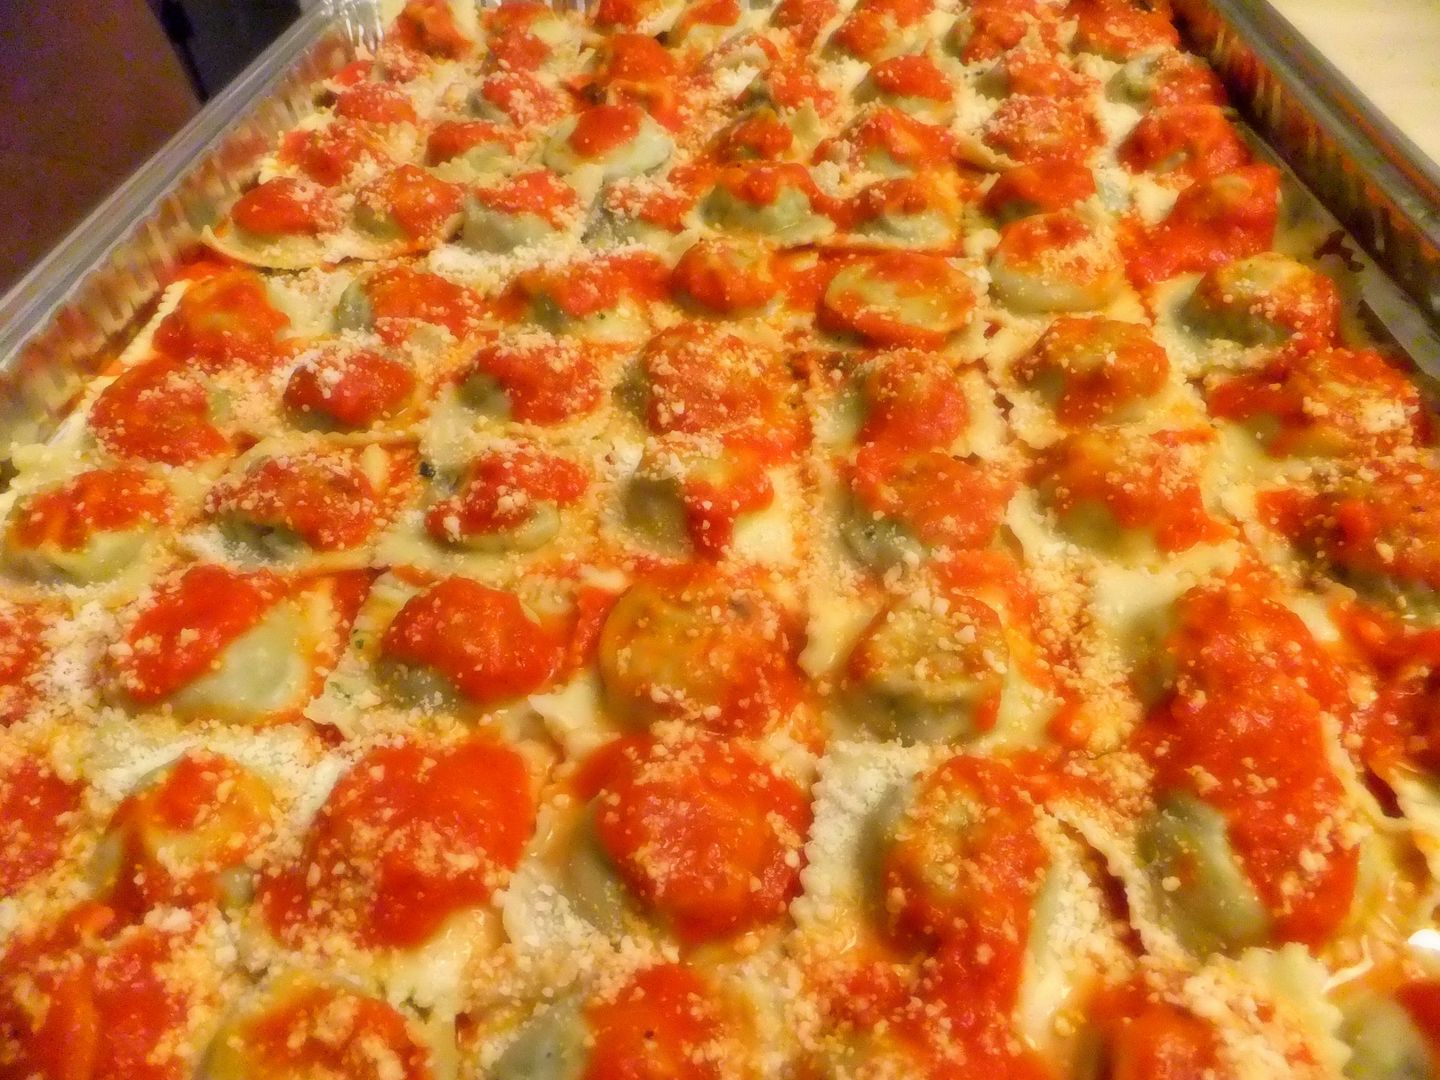
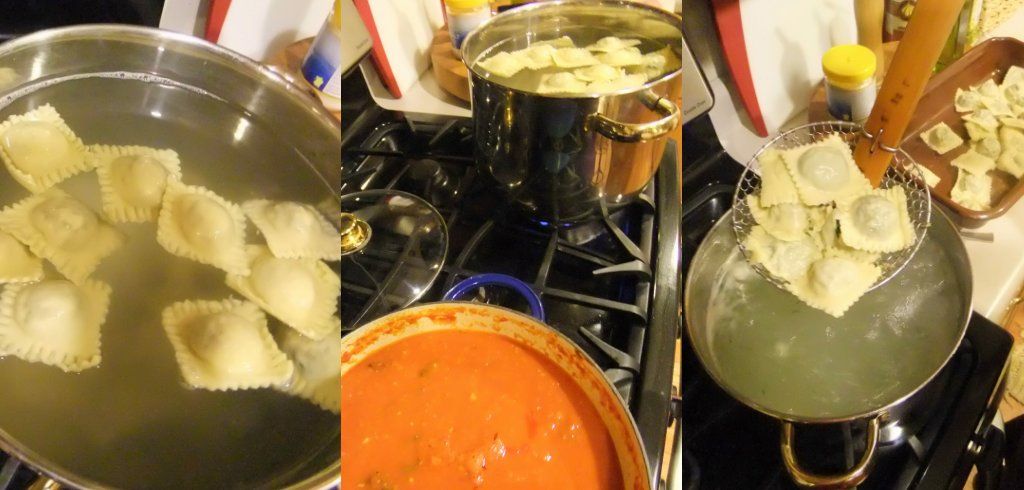
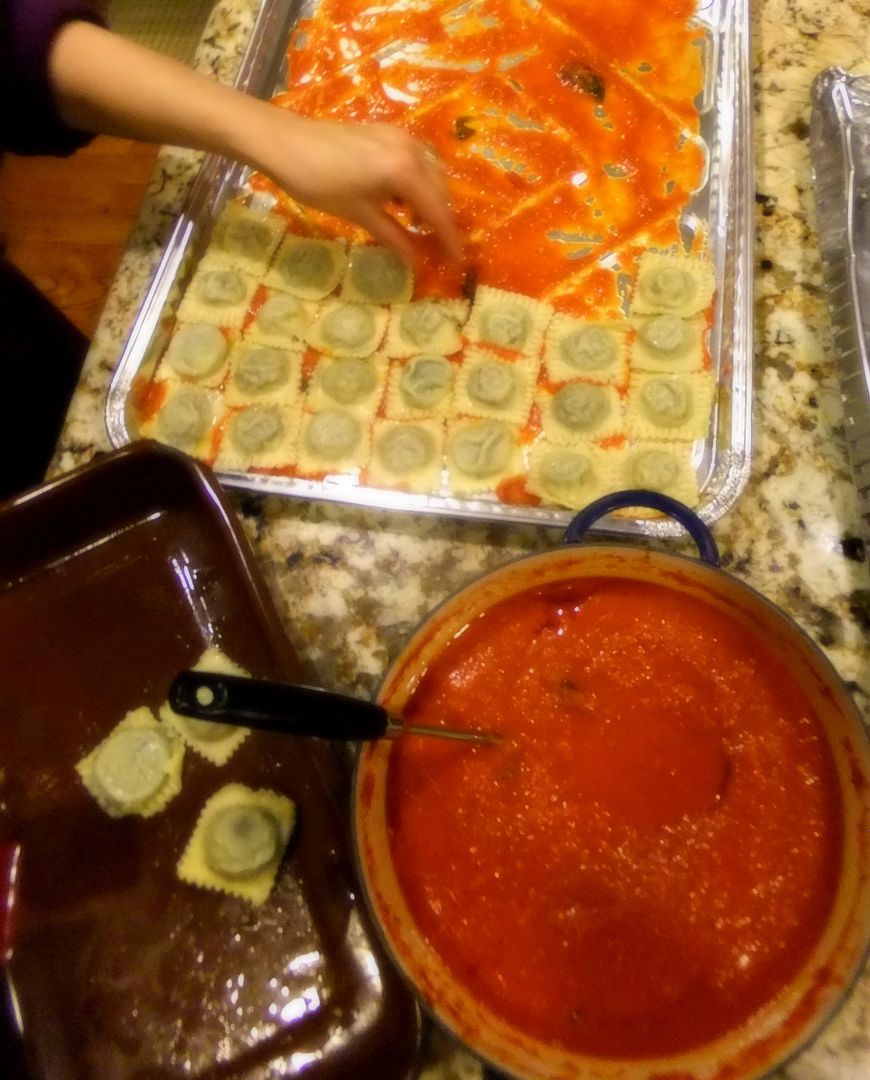
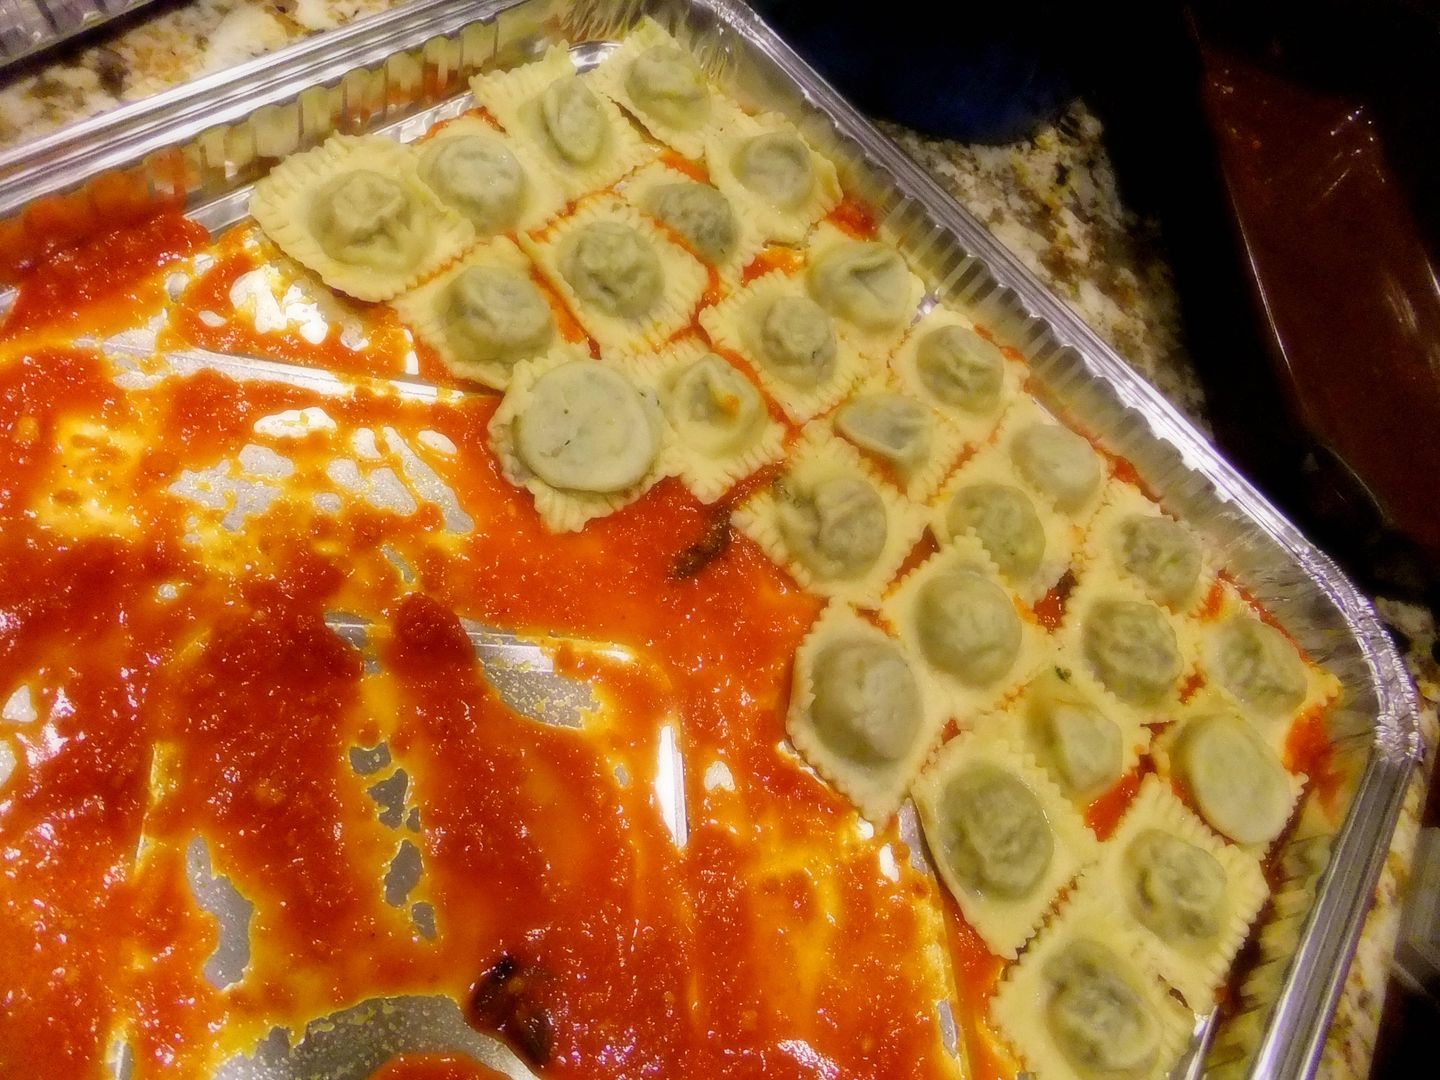
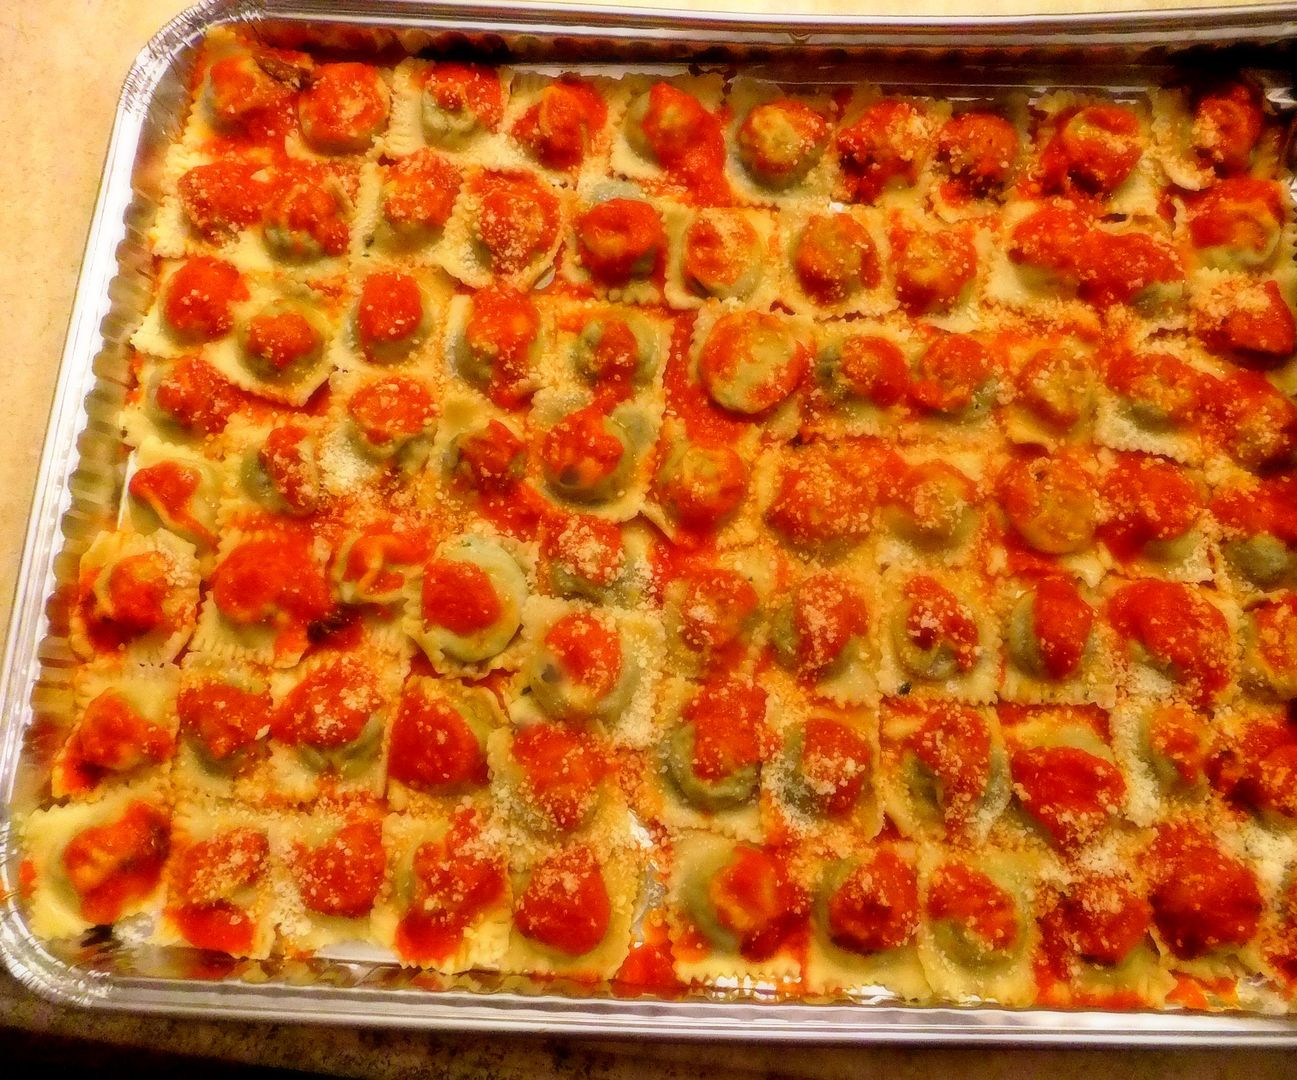
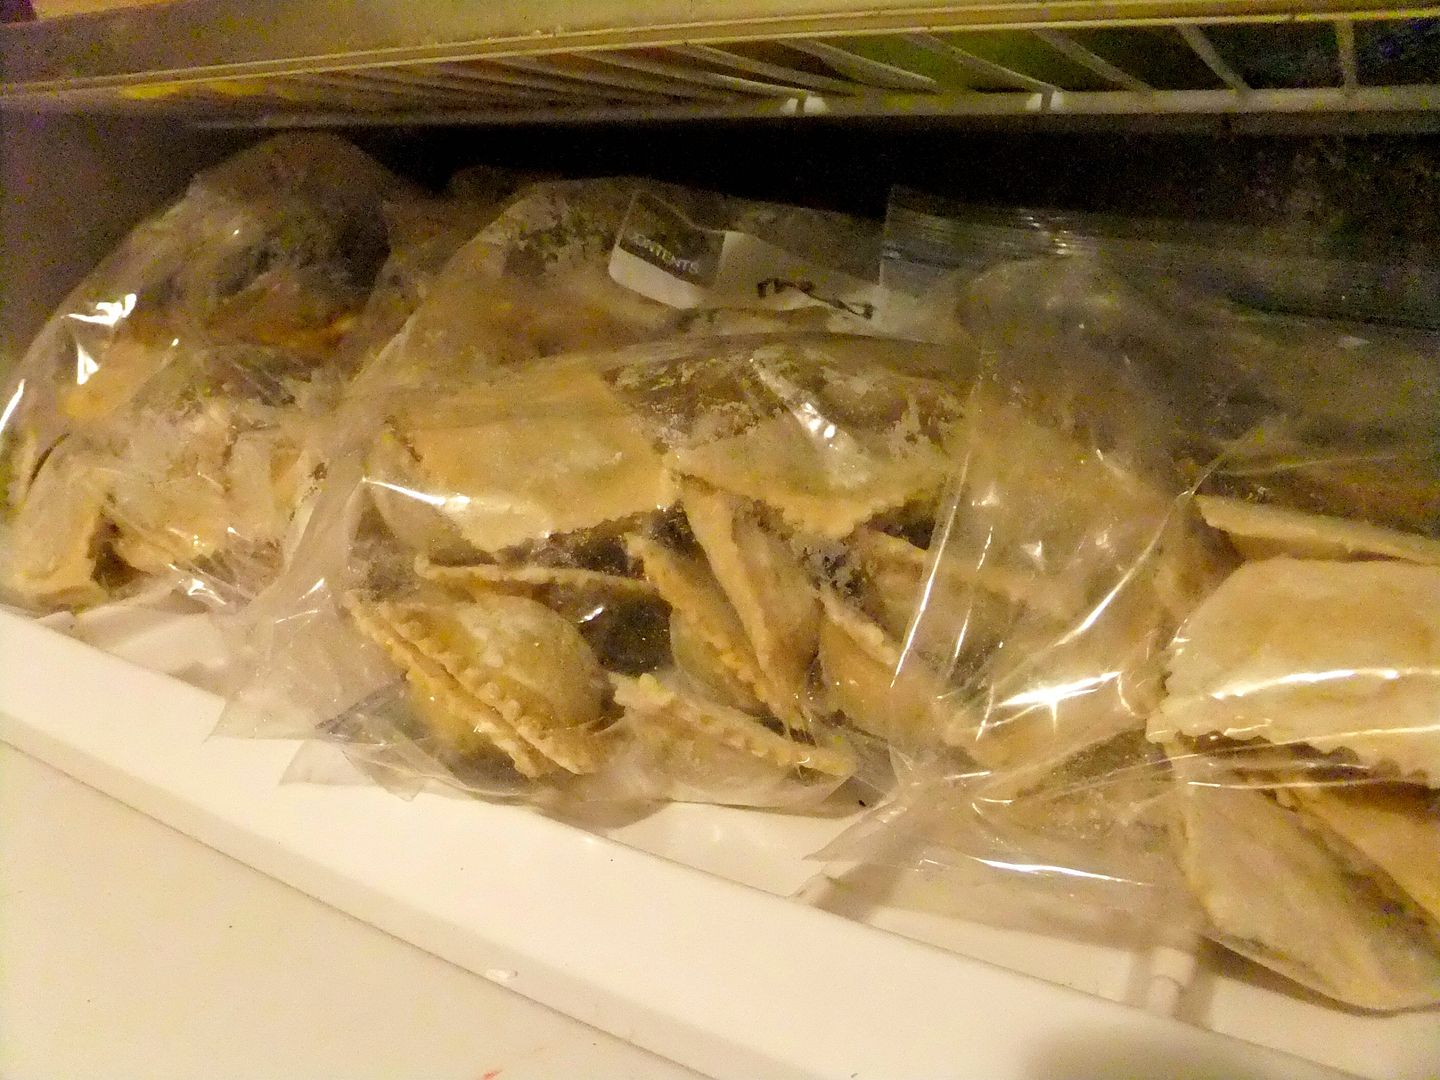
Then to top off the week I spent a day at my house making ravioli with my cousin and sister-in-law for a party we're having this weekend, the music was blasting, there was flour everywhere! We were even going to crack open a bottle of wine but opted for coffee instead since it was only 9:00 in the morning!

We ended up making 200 total, a combination of both meat and cheese.
I highly recommend a day of pasta making with family or friends, it's a great way to spend a day!
Buon Appetito!


Saturday, November 26, 2011

The Frugal Cook is away

No credit crunch drinking recs this week or next I'm afraid as I'm away on a work trip to Australia. (Yes, jammy, I know) Normal service will be resumed after December 11th.

Wednesday, November 23, 2011

Pears in mulled cider


Given how much leftover wine we have in the house (I'm also a wine writer for those of you who don't know) I normally poach pears in red wine but I tried them again the other day in cider and I'm not sure I don't prefer them that way. It seems to preserve the pear flavour better. (You could also use an off-dry perry, of course)

This is a great way to use those greenish brown conference pears which never look very appealing but have a superb flavour. You want them not quite ripe enough for eating but not rock-hard either. I'd pick them out by hand rather than buy a bag of them even though they tend to be cheaper that way. You can tell the stage they're at by pressing the top of each pear gently by the stem. There should be a tiny bit of give.

A great dessert for when you’ve had an indulgent carb-laden main course like a pie!

Serves 4

4 evenly sized, not quite ripe conference pears
330ml medium dry cider
4-5 heaped tbsp unrefined caster sugar
A fine strip of lemon peel + a little lemon juice to taste if needed
1 small cinnamon stick
Pouring cream or vanilla ice cream to serve

Keeping the pears whole remove the peel carefully with a small sharp knife, leaving the stalk on. Fit them side by side in a medium-sized saucepan and pour over the cider. Add enough water to cover the pears. Remove the pears from the liquid and set them aside.

Add 4 heaped tbsp of unrefined caster sugar and place the pan over a low heat until the sugar has dissolved. Taste the liquid and add a little extra sugar if you don’t think it’s quite sweet enough (ciders vary).

Return the pears to the pan along with the lemon peel and cinnamon stick and bring the liquid to the boil. Turn down the heat, cover the pan and simmer for about 45 minutes until the pears are soft. Remove them carefully from the pan with a slotted spoon and transfer to a shallow glass dish.

Remove the lemon peel and cinnamon then turn the heat up and boil the remaining liquid by about two thirds until thick and syrupy. Check for sweetness adding a little lemon juice if needed. Pour the syrup over the pears and leave to cool.

Serve just warm or at room temperature with double cream or vanilla ice cream and some crisp home-baked biscuits or shortbread.

Oh, and a happy Thanksgiving to my American readers. I suppose this should have been a pumpkin pie really but I'm sure you've got zillions of recipes for that. This might make a nice change ;-).

Saturday, November 19, 2011

Wine of the Week: La Metropole Rouge

It's always good to have a standby wine that will go with virtually everything and La Metropole rouge fits the bill. Sure, the 'ooo-la-la' label isn't going to impress wine snobs but the content - a blend of Syrah, Grenache, Carignan and Cabernet Franc from the Roussillon region of southern France - is more than generous for the £4.99 price tag. They suggest drinking it with rich stews such as Lancashire hotpot or boeuf en daube or with simple grilled meats - I'd add stalwarts like sausage and mash, shepherds pie and lasagne. Just the sort of lipsmacking red you need for everyday drinking.
 
Although I wasn't overly impressed by the accompanying La Metropole Blanc when I tasted it back in the spring, it may well have settled by now and at the same price it's worth a punt too. It's a typically southern blend of Marsanne, Grenache Blanc, Roussanne and Viognier with a touch of Chardonnay and should work well with robust seafood dishes like grilled prawns with garlic or Spanish-style fish stews.

And while you're in the Co-op you might try a bottle of the Crouzes Old Vine Carignan, which is currently on offer at £4.39. I haven't tried the 2010 vintage but it's a reliable stalwart - a big chunky southern French red that would again work well with dark beefy stews or pies. Or as a base for mulled wine.

Thursday, November 17, 2011

Making Pizzelle

Recently I bought a pizzelle maker and I couldn't wait to break it in. I felt very ambitious and had visions of making all different flavors like anise, chocolate, citrus, cinnamon, orange and rum, almond and some even dipped in chocolate and then into nuts, oh yes and sprinkles for the kids! Well I didn't get all that far because making pizzeles are very time consuming!
I have a close friend Jean who can make these in her sleep! Pretty much every event in life like holidays, parties, funerals, or just a few girls getting together you can always count on Jean to bring her pizzelles. Pizzelle making is a true labor of love, you have to be patient, something I need to work on when baking or making cookies!


I followed the recipes that came with my pizzelle maker because they're all basically all about the same, flour, butter, eggs, sugar and the flavorings of your choice. After I did one batch I was pretty much done! I called Jean for advice and she gave me some good tips, like don't be in a hurry, allow a couple of hours, sit down and watch TV while your making them. My recipe said to drop a tablespoon of batter behind the center of the pattern, I did that and they were too big, batter was oozing out the sides and running into each other, I was ready to give up they looked terrible! Jean said to use a heaping teaspoon of the batter ( which comes out pretty thick) and place it in the center, I did what she said and they turned out great!


I've always loved the the designs on pizzelle irons, they make beautiful crispy wafer cookies and always look gorgeous on a platter.


Right now I'm hiding these in a big tin and plan to bring them out as part of our Thanksgiving Day dessert. I made traditional anise flavor and chocolate ones as well.


I made the sprinkled kind for my two granddaughters simply by taking the heaping teaspoon of dough and rolling it into a bowl of sprinkles right before you place the ball of batter on the iron. My advice is to do the sprinkle ones last so that you won't find any tiny sprinkles on your other flavors.


My oldest granddaughter was off of school the day I made these so she taste tested a few and gave me thumbs up all the way, so did her dad!


Jean says don't powder sugar them until the day you're going to eat them, if you have a cool place store them in a can, they last for weeks and still stay crispy, no need to freeze.


Here's the basic recipe with variations:


6 eggs** 1 cup of sugar** 1 cup of melted butter** ( Jean says you can use canola oil if you want in place of the melted butter) **2 teaspoons vanilla** 3 cups flour** 1 tablespoon baking powder**


( For anise flavor add 1 teaspoon of anise seeds and 2 teaspoons of anise extract) if you use pure anise oil, use much less like 1/2 teaspoon or a teaspoon.


( For chocolate flavor add 1/2 cup of cocoa powder)


Melt butter and set aside. Beat eggs and sugar until light yellow, 2-3 minutes. Add melted butter and vanilla or other flavorings. Beat until blended. Sift together the ingredients, fold until just blended, add remaining flour and fold again until just incorporated.


Heat pizzelle iron, place 1 heaping teaspoon of batter in center of pattern. Bake until golden brown, about 30-40 seconds. Remove and cool on a rack. Repeat with remaining batter. This could make six dozen depending on how deep your grooves are on your iron. ( Jean triples this, if you're going to do it you might as well make a bunch!)


Happy Thanksgiving to all!


Tuesday, November 15, 2011

Tacos: the perfect food for kids


One of the biggest problems about bringing up four children was getting them to eat the same food. Indulgent you might say - they should have eaten what they were given - but it doesn’t somehow work like that these days. There were meals that 3 out of 4 liked like sausage and mash but even then my eldest son bewilderingly disliked the mash. MASH! Who dislikes mash?

The most popular meals (apart from roast chicken and spag bol and even they didn’t work when the girls periodically went veggie) were dishes they could assemble themselves, top of the list being pizza and homemade doner kebabs. To this I’d have now added tacos which strike me as the perfect kids food. And thrifty too.

True you have to have the tortillas and I’m afraid wheat ones won’t do. There’s something about corn tortillas that turns this from a sandwich into an exotic, snack that makes you feel as if you're on holiday. You can of course make them yourself and that would be a fun thing to do but just as you don’t always have time to make pizza from scratch it’s good to have some ready made tortillas on standby.


I’m lucky enough to have a shop up the road in Bristol called Otomi that sells two kinds - one long-life product imported from Mexico and one from the Cool Chile Co which also sells them online. I tried both the other day and preferred the flavour of the Mexican ones but the texture of the Cool Chile ones was much better. (In both cases you need to warm them in a dry frying pan otherwise they’ll snap when you attempt to wrap them round the filling.)

The filling is the cheap bit. You can basically use what you have though I consider a fresh tomato salsa (and therefore some fresh coriander and lime) essential and some avocado nice.

As I had some chorizo, onion and potato I decided to use those, borrowing an idea from Thomasina Miers excellent Mexican Food made Simple. I’d also bought a small tin of chipotles en adobo from Otomi (£1.50) which gave them a nice smoky edge.

Chorizo and potato tacos
Enough to fill 6 tortillas
1 onion, peeled and finely chopped
1 large potato, peeled and cut into small dice
110g semi-soft chorizo (Tesco has a good one in their Finest range)
1 finely chopped chili from a tin of chipotles en adobo + some of the juice (optional) or a teaspoon of mild chilli powder or smoked pimenton
1-2 heaped tbsp fresh coriander
Salt and pepper
1 avocado and the juice of half a lime
6 soft corn tortillas
Heat a small frying pan, add the oil and fry the onion and potato over a moderate heat until soft and beginning to brown (about 8-10 minutes). Add the chorizo and finely chopped chilli and fry until the chorizo starts to char a little. Take the pan off the heat, season with salt and pepper and stir in the coriander. Peel and cut up the avocado and toss in the lime juice. Warm the tacos one by one on both sides in a hot dry frying pan (i.e. without any oil) and top with the chorizo mixture, some salsa (below) and chopped avocado. Eat in both hands. (They’re dead messy)


Salsa fresca
1/2 a small mild onion or a shallot
6 small to medium-sized ripe tomatoes, skinned if tough
juice of half a lime
1 fresh chilli, de-seeded and finely chopped
2 tbsp chopped fresh coriander
Salt and pepper
Finely chop the onion, tomatoes and chilli, if using and mix together with the fresh lime juice and coriander. Season with salt and pepper. Eat with tacos or tortilla chips

This is a good veggie version. Home-cooked beans would be even better.


Red bean tacos
2 tbsp oil
1 medium onion, peeled and finely chopped
1-2 cloves of garlic, crushed
A pinch of ground cumin
1 finely chopped chili from a tin of chipotles en adobo + some of the juice (optional) or a teaspoon of mild chilli powder or smoked pimenton
1 tbsp tomato paste or 2 tbsp passata or other tomato-based pasta sauce
1 tin red kidney beans, drained and rinsed or an equivalent amount of home-cooked red or black beans
1-2 tbsp fresh coriander, chopped
Salt and pepper
Grated cheddar or a white cheese like Wensleydale or Cheshire or some feta
6 soft corn tortillas
Heat the oil and fry the onion until beginning to soften and change colour. Add the cumin powder, crushed garlic and chili or chilli powder, stir, then add the tomato paste and cook for a minute. Add half a glass of water, tip in the beans and leave on a low heat while you make the salsa and prepare the avocado, as above. (The bean mixture is actually better left to cool down a bit before you use it to fill the tacos. Mash it up a bit first so the beans don't go rolling all over the place.) Heat the tortillas as above and top with the beans, grated cheese, salsa and avocado (for those who want it).

You can also make great tacos with shredded beef or chicken as they do on the taco trucks that are so popular in the US (and increasingly here) Now, kids would absolutely love that.


For more ideas for taco fillings check out Thomasina’s chicken tinga tacos which it strikes me would adapt well to turkey leftovers and Baja California fish tacos (which I reckon you could cheat and make with fish fingers and a spiced up homemade slaw). Or, even better, add the book to your Christmas list. It's got lots of other recipes I want to make.

Have you ever made tacos for the family or what dish do you find all members of the family like?

Saturday, November 12, 2011

Wine of the Week: Vidal-Fleury Côtes du Rhône 2009

Here's a really good bottle to put on your Christmas table - or pull out for supper with friends. It's a smashing Côtes du Rhône from the excellent 2009 vintage - a warm, generous, spicy blend of grenache, syrah, mourvèdre and carignan. It would work brilliant with roasts, beef stews, hearty bean dishes like cassoulet and cheese.

It's normally sells for around £10-11 but is on offer at Majestic at the moment at £6.99 if you buy two bottles as part of their current 20% off Rhône offer.

As you have to buy six bottles at Majestic (if you pick them up from a store - 12 if you order online) two other good buys are the classy Wither Hills Marlborough Sauvignon Blanc 2011 (on offer at £6.99 - Majestic always has good offers on New Zealand Sauvignon Blanc) and Anakena Single Vineyard 'Deu' Pinot Noir 2010 (£7.99) a heady, sensuous pinot that knocks spots off any burgundy at the price.

Thursday, November 10, 2011

Cauliflower cheese with parmesan and almonds


They had some really nice cauliflowers in the greengrocer the other day which prompted me to make this cauliflower cheese with a twist. My husband isn’t mad about cooked cheese anyway so I decided to cut the amount of cheese and top it with flaked almonds which I reckoned would go well with cauliflower. (They really do). I think some chopped ham would be nice too if you want to make it more substantial.

The main thing is to use a strong, dryish cheese so you don’t have to use too much and can keep the flavour and texture light. I used some mature Old Winchester which I happened to have after a cheese festival but you’re probably more likely to have parmesan which would be fine. (Frugal cooking is, of course, about using what's in the fridge.)

Serves 2-3 as a supper dish, 4-6 as a vegetable

1 medium-sized cauliflower
30g butter
25g plain flour
350-400ml semi-skimmed milk
25-30g mature Pamesan or Grana Padano or 50g strong hard cheese like Old Winchester, Comté or Cheddar, grated
2 tbsp light cooking oil
50g flaked almonds
Salt and white pepper

Cut the outside leaves off the cauliflower but keep any tender, inner leaves. Cut the florets off the stalk and divide them into even sized clusters. Steam or boil the florets and inner leaves until just tender (about 6-7 minutes), drain and tip into a shallow buttered baking dish.

Melt the butter gently in a small non-stick saucepan, stir in the flour and cook over a low heat for about 30 seconds. Take the pan off the heat and gradually add the milk bit by bit, stirring between each addition. When you’ve added half the milk you can pour most of the rest of the milk in one go, holding back a little to see if you need it.

Bring the sauce to the boil, turn the heat right down and simmer for 5 minutes until thick and smooth. Take off the heat and add most of the cheese. You should be able to taste the cheese but it shouldn’t be overwhelmingly cheesy. Add more if you like then season with salt and white pepper to taste. If the sauce is too thick add the remaining milk or a couple of spoonfuls of the water you’ve used for cooking the cauliflower. Pour the sauce over the cauliflower florets.

Preheat the grill to a medium setting. Heat the oil in a frying pan and fry the flaked almonds over a low to moderate heat until they begin to colour then sprinkle them over the cauliflower. Place the dish under the grill (not too near the heat) until the almonds are light brown and the sauce starts to bubble.

Do you have any favourite additions to cauliflower cheese or do you prefer the classic version?

Tuesday, November 8, 2011

Making Gnocchi

Recently I taught a class on making gnocchi at my friends gorgeous home, a hands on class where everyone would take part, we started the day off early, I was all prepped and ready to go!


We made two different kinds of gnocchi, butternut squash and ricotta. The squash was roasted, pureed in a food processor along with other ingredients, and then gently mixed into a dough.


Before we started we munched on a few appetizers and had some drinks, because after all we needed to build up our energy!


And then we got down to gnocchi business, with aprons on, each person had a job, some mixing the dough, some rolling, some cutting, but everyone wanted to try out the gnocchi boards, it was fun to see how fast they were all getting, gnocchi was flying everywhere!


We quickly filled up many trays, this was the butternut squash, I just love the color and taste, a big favorite of the day! Very light not heavy tasting at all.


The key to a light and fluffy ricotta gnocchi is to drain the ricotta of all moisture, I placed my ricotta in a fine strainer over a bowl in my fridge overnight, you can't believe how much liquid comes out! By straining the ricotta you won't have to keep adding additional flour to soak up that moisture which will keep them nice and light tasting.


I roasted mushrooms with olive oil, onions, garlic and zucchini and tossed the butternut squash gnocchi into it all, topped with fresh chopped parsley and generous amounts of freshly grated parmesan.


This is a perfect autumn dish, they just melt in your mouth, and the roasted vegetables just complement it all.


Another sauce that goes well with the butternut squash gnocchi is a fontina cheese sauce with torn spinach leaves and parmesan.


You can never go wrong with a simple marinara for the ricotta gnocchi, always a favorite!


But my new favorite way of eating them is tossing them into crumbled Italian sausage, roasted mushrooms, onions, garlic and cherry tomatoes. All dowsed with olive oil and freshly grated parmesan, and a sprinkling of fresh basil and parsley. Heavenly!


A fun day it was! Thanks to all who attended. The recipes are quite long so I didn't put them in my post but I'd be happy to email them out to anyone if you so desire, just contact me at prouditaliancook@hotmail.com subject, Gnocchi.


UPDATE...

Thank you for the overwhelming response I got requesting my gnocchi recipes, I've sent out close to two hundred already! I've since learned how to post them on my Proud Italian Cook Facebook page. For those of you who are Facebook users you can get the recipes by going to my wall and on the lefthand side under "notes" they will be posted, for any others I will still email them out. Thanks to all!!